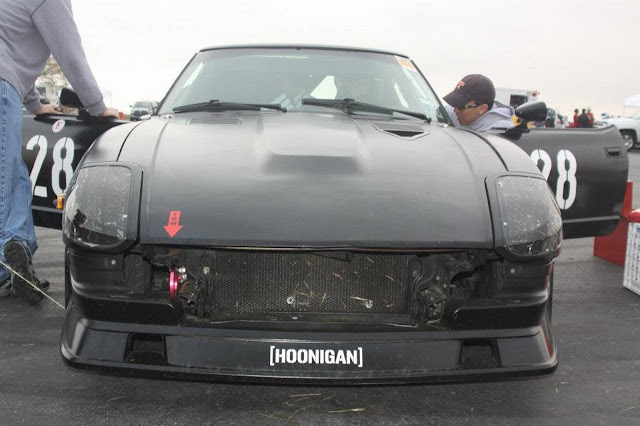
Here are some pics from the ChumpCar Holiday Hoon event at Harris Hill Road with 'Team Lonely Driver'. The car is a 1983 Nissan 280zx 'FAILLADY Z'. I was there for support in case the car broke. The car ran pretty well with no major mechanical issues. After about 7 hours into the race the fuel started getting too hot causing the motor to lose power. The fuel heat problems eventually forced us to stop racing with an hour left. Even though the car did not last until the finish we were still able to manage to get position 18/30.
Right side hood pin broke about half way through the race so the hood started popping up.
So we just removed the hood at the next pit stop. Problem solved.
After about 6 hours of racing the car suddenly died on the track and had to be towed back in.
Turns out the ignition coil fell out of the mount and the wire came loose. Quick repair with duct tape and sent it back on the track.
After all of the problems we had with fuel overheating we pitted to let the car cool down since it was down on power. We didn't realize that the ground wire for the e-fan came loose since the motor was still running cool on the track but once we stopped the radiator boiled over and pressurized the overflow tank. The lid popped off of the overflow tank and sprayed water all over the place.
Found this video from team Nismorons in their Nissan 240SX. Starting at :19 they catch the Z going off the track on video.
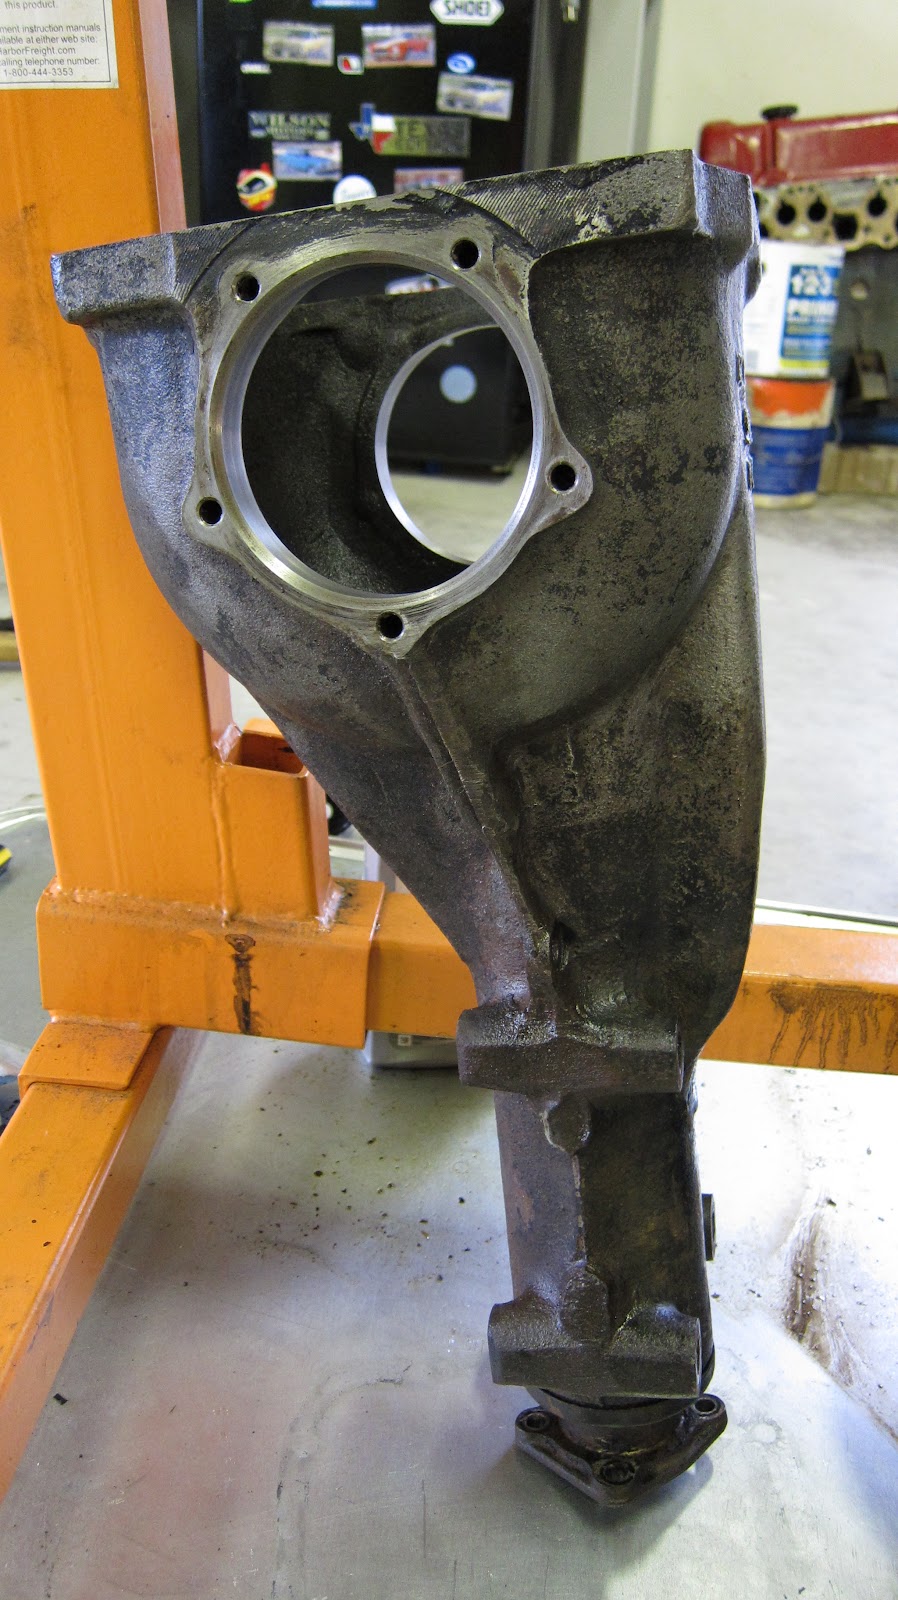
I started doing some work on the rear suspension, but it seems like I took one step forward and two steps backwards after what happened with one of my stub axles.
Here is a comparison of the new and old springs.
I am glad I decided to go ahead and replace the shocks. They were leaking pretty bad. I can push in the piston by hand and it does not even try to return..so they are trash.
While I have everything apart I am also replacing the wheel bearings. This involves taking out the stub axles, something I have never done before. To remove the lock nut on the 240z you have to grind away the nut where it is pressed into the stub axle. The first side I did worked perfect without any trouble at all. On the second side I didn't grind enough metal away and ended up snapping the end of the stub axle off at the threads. I did not expect the metal to be that soft. Oh well..another expensive lesson learned the hard way.
Here is a before pic so you can get an idea of what has to be grinded away to remove the lock nut.
After - ouch.
Now I need to find a replacement stub axle. I think I may just use one from my other 240Z since they will be upgraded to the stronger 280Z or modern motorsports stub axles anyway.
I have been collecting parts since July and finally have almost everything I need to finish the suspension and brakes on the Fairlady.
Tokico HP Performance Suspension Kit (non-adjustable).
Silver Mine Motors Front Big Brake Kit (stage 4) - Based on Toyota 4x4 brakes.
Silver Mine Motors Rear Big Brake Kit (stage 4) - Based on Mustang GT
rear brakes. I chose this kit because it is one of the few rear disk upgrades
for the s30 that keeps the parking brake.
I also have a 280zx 15/16 Master Cylinder too but I didn't take a pic.
When I ordered the brakes I was not sure if they would fit my 15" 280zx
wheels but I just checked and the rear brakes do not fit. Looks like it
is time to start shopping for a set of wheels. I will probably
order a set of 16x7 konig rewind wheels (watanabe knockoffs). I would
really like to get a set of real watanabe wheels or volk te37v but I
think I am better off putting that money towards getting the Fairlady back on the road so I can continue my LS1 swap. I can always upgrade the wheels later.
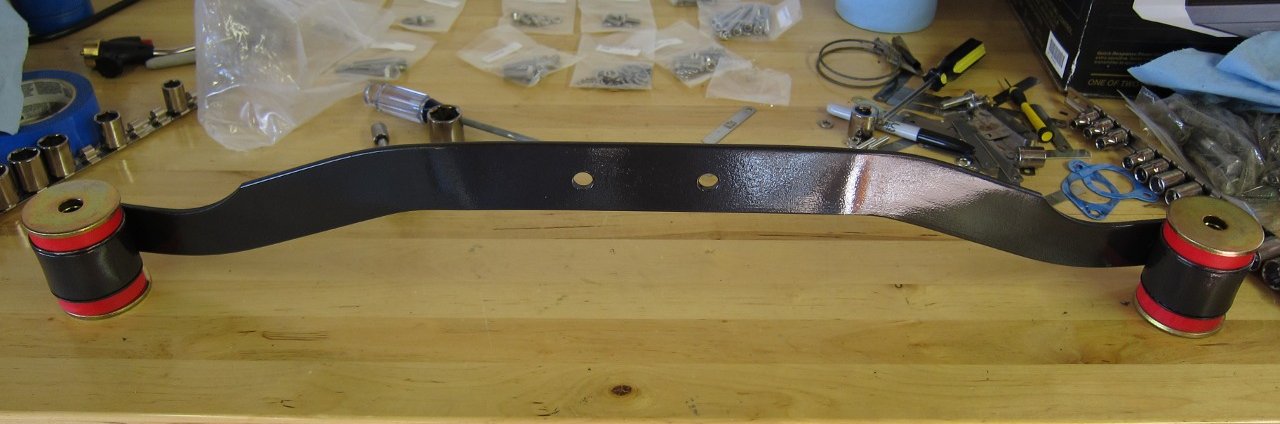
Continued from part 1. Prepped the mustache bar for paint and masked off the ends.
Primed.
I used Rust-Oleum hammered finish spray paint. I think it worked pretty well.
Finsihed with paint.
Coat the bushing in the supplied grease before pressing it into the mustache bar. Installing the new bushing was very easy and did not require any special tools.
Done:
It will proabably be a few weeks before I have any more updates since the suspension parts I ordered are on backorder from Tokico.
I started working on replacing the bushings in the mustache bar today. I am replacing all the old worn out bushings with Energy Suspension polyurethane bushings using their master kit for the 240z.
Before:
Only remove the inner rubber bushing. The outer shell is reused.
Drill a series of holes around the outside diameter of the old bushing.
I used a screwdriver and mallet to break the bushing away from the mustache bar.
Use a torch to burn away the excess rubber. I used a small propane torch but an acetylene torch would get the job done faster. The heat makes the rubber soft enough to scrape away. The propane torch removed most of the leftovers, but there are still some small chunks of rubber stuck to the mustache bar. I used a small wire wheel on my "dremel" tool to get clean up the rest of the leftovers. Ready for the new bushing. To be continued...
It's been a while since I posted any updates. I haven't done as much as I planned to by now, just been busy with other things. All I have left on the motor is installing the distributer and valve cover so it is basically done. I cracked open the diff and started cleaning up the 39 years of grease from the diff housing. Everything internally in the diff is in really good shape and the magnetic oil plug did not have any metal deposits.
The drum brakes are in decent shape and I would probably be okay keeping them but I went ahead and ordered the disk brake upgrade from silvermine for all four corners. I also have a set of tokico hp shocks (non-adjustable) and springs on the way.
Oil pickup installed:
The oil pan actually turned out to be a real pain. The ARP studs on the rear main cap were taller than the factory bolts and there was an indention pressed into the oil pan that was in the way. A few minutes with a hammer solved that problem.
Fresh set of NGK BPR6ES spark plugs.
Current state of the motor.
Diff housing after some cleaning. Almost ready for paint.
The early JDM Z cars have shorter 3.9:1 gears to make up for the lower displacement of the 2.0 Liter L20a. This may be interesting with the L28.
Me and a buddy dropped the rear suspension and diff in the Fairlady. The job went better than I expected thanks to this post from dirtys30.blogspot.com. We were able to get the rear end dropped in just over an hour. Not bad for the first time I have done anything with the rear suspension on a Z. I think I got lucky because none of the bolts were siezed tight with rust. It was actually scary how loose some of the bolts in the front diff mounts were. There is no telling how old the gear oil is so I am not looking forward to cracking open the diff cover.
I have ordered an energy suspension master bushing kit and stainless brake braided soft lines for the brakes.
I noticed that the right side brake drum was seized which explains why the car was so hard to push when we loaded it onto the trailer the day I picked it up.